Get Started

Key Takeaways
A WordPress development environment is a private workspace for building and testing websites. It offers privacy, faster performance, and better version control, crucial for safe experimentation with code and updates.
Local and remote development environments differ in file storage locations. Local allows offline work, while remote enables access from any computer.
Remote development environments offer flexibility and version control features. They require an internet connection but allow work from anywhere.
Setting up a remote development environment involves choosing a virtual storage space and configuring necessary tools. It requires a specific stack of applications like Linux, Apache, MySQL, and PHP for WordPress development.
Beginning development on a new website requires a lot of careful planning. For example, you’ll want to decide how to approach the ‘under construction’ stage of the project. You’ll likely need to shield potential visitors from seeing your website when it’s still in progress.
This is where development environments can come in handy. This kind of environment gives you a place to do all the design and programming work on your new site, without anyone accidentally seeing it. Then, you can push it live when it’s fully ready.
In this article, we’ll take a look at two different kinds of development environments. We’ll also show you how to get started with both options. If you’re ready, let’s dive right in!
What Is a WordPress Development Environment?
A WordPress development environment is essentially a private, contained workspace set up specifically for building, testing, and modifying WordPress websites without affecting a live, public-facing site. Think of it as a sandbox or workshop where developers can safely experiment with code, themes, plugins (making it a perfect WordPress plugin development environment), and updates. There are primarily two types: a local environment, which runs entirely on your own computer (offline access is a key benefit), and a remote or online WordPress development environment, hosted on a server but kept private. Both differ from a staging environment (like WP Engine’s staging sites), which is typically a clone of the live site used for final testing before deployment. Using a dedicated WordPress environment offers significant advantages, including privacy during development, often faster performance since it’s not serving public traffic, the ability to break things without consequence to the live site, and better version control opportunities, especially when coordinating the WordPress development and production environment workflow. WP Engine integrates smoothly with local tools like Local via WP Engine Connect and provides robust staging and production environments as part of its managed hosting platform, facilitating a complete WordPress development setup.
Local Versus Remote Development Environments
There are two main kinds of development environments that you might want to explore when creating a WordPress website. Keep in mind that whether you choose to use a local or remote environment for development, however, both will require all the software WordPress needs to function properly. This includes database applications and code libraries, for example.
Developing locally means that all of your WordPress plugin and theme files will be stored on your own machine, along with the WordPress core files. You’ll be able to view your development work in a browser, just as if you were accessing a website on the internet. However, the files will be called in from your computer, instead of your site’s hosting server.
A remote development environment is essentially the same thing, but all of those important website files will be stored and retrieved from a remote location. This means you’ll need to set up or purchase storage space. In contrast to regular website hosting, however, this remote file location will only be accessible to you or your team.
One of the primary benefits of using local development for WordPress is that you don’t need to be connected to the internet in order to work on your website. While remote development does require a connection, however, it’s the better choice if you want the option to access your work from any computer.
Advantages of a Remote Development Environment
As we mentioned, a remote development environment enables you to access your projects from anywhere. You don’t even have to use a specific computer to do your work – all you need is a connection to the internet and your login information.
Additionally, you may be able to implement version control features, depending on which remote environment application you decide to use. This means you’re less likely to run into issues when developing with a team.
How to Set Up a Remote Development Environment
Setting up a remote development environment can be a little more involved than creating a local environment. With that being said, it’s not out of reach by any means. There are several options when it comes to remote environments, and many come with all the tools you’ll need right out of the box.
Step 1: Choose and Configure a Remote Development Application
There are a number of remote development tools you can use. What you’re looking for is a virtual storage space where you can store all of your website’s files and applications, as well as the software needed to make your website run. This is where you can work through each of your development stages, without pushing the site to a live, production status until you’re ready.
To do this, you can use a product like DigitalOcean or Visual Studio.
These differ in what they offer, but ultimately accomplish the same task. For example, with Visual Studio Code you’re getting a sophisticated code editor that becomes a development environment through your choice of remote extensions.
You can also use Amazon Elastic Compute Cloud (Amazon EC2) for remote development.
Alternatively, you can look at our own dedicated development environments. Once you’ve selected your virtual environment or cloud-based solution, you’ll need to make sure it’s configured for supporting WordPress development.
Step 2: Install Any Necessary Tools and Plugins
Regardless of the remote development environment you choose, there is a specific stack of applications you’ll need in order to set up WordPress. These include:
- Linux. This the Operating System (OS) that is ideally needed to run WordPress. We’ll get into the specifics later when we talk about local development environments, but suffice it to say that if the following three items are in place, they can work with other OSs like Mac and Windows just as well.
- Apache. With a live website, the web server layer is where browser requests are fulfilled and returned to your website’s users. In a development environment, this is also true. The only difference is that your server is not pointing to a live domain.
- MySQL. MySQL is the most popular and free database solution. This is essential to your WordPress development environment, since it’s where all the data your website needs is stored.
- PHP. All of the other elements in the stack need a ‘voice’, and that’s where PHP comes in. Hypertext Preprocessor (PHP) is a language that is needed for WordPress to function.
These applications are referred to as the ‘LAMP stack’, and they can be added to remote development environments in a number of ways. For example, if you’re using DigitalOcean, you’ll work with Droplets to create the LAMP stack for WordPress.
If you’re using Amazon EC2, the setup for WordPress development is a bit more manual, but can still be done in around five minutes.
Regardless of the environment you choose, you’ll need the LAMP stack in order to get your WordPress development started. Fortunately, many remote development options come with LAMP as an easy installation option, saving you a lot of time and trouble.
Step 3: Access Your Environment
The most common way to access your development environment is through a Secure Shell (SSH). This is how you can connect to your server from any computer, and leverage the ‘remote’ aspect of this approach to WordPress development.
The specifics of how you connect will depend on the product you choose. For example, here at WP Engine, we have an SSH Gateway option for developers.
Advantages of a Local Development Environment
One of the biggest advantages of using a local development environment is that you don’t have to be connected to the internet to access it. You can work on your site from anywhere, and you won’t be held back by connectivity issues.
Additionally, local development enables you to work in a more secure environment. You’ll be able to keep your projects truly under wraps until you’re ready to go live.
Setting Up a Local WordPress Environment
Setting up a local WordPress environment is fairly simple. There are several local development applications, such as Local by Flywheel, that make the setup process incredibly easy.
Keep in mind that local development for WordPress still requires a LAMP stack. However, some solutions will use terms such as WAMP or MAMP instead, as they are designed for use with Windows or Mac OS rather than Linux.
Step 1: Choose and Configure Your Local Development Application
There are several excellent local development applications to choose from. We’ve mentioned Local by Flywheel already, but Varying Vagrant Vagrants (VVV) is another WordPress-recommended local development tool to consider. If you already have a plan here at WP Engine, you can also check out Local for a local development solution.
Once you’ve set up your chosen solution, you’ll be able to start development from scratch or import an existing website to work on. For example, with Local by Flywheel, you can use a .zip file of your downloaded website to get started. If you’re starting from scratch and designing a new website, most local applications have one-click installation solutions for setting up the environment for use with WordPress.
Step 2: Select a Text Editor
Once your local environment is set up, you’ll need to pick a text editor. This is where you’ll edit and debug your WordPress code. These solutions range from simple text applications, to enhanced interfaces with built-in tools for optimizing your workflow.
WordPress has some recommended text editors for development that include Atom, Sublime Text, and PhpStorm. There are other options as well, so you’ll want to work with what is most comfortable and suited to your existing workflow.
Step 3: Choose a Developer-Friendly Web Browser
Since you’ll still be viewing your locally-developed projects in a web browser, it’s good practice to use a browser that’s oriented to developers. Both Chrome and Firefox are incredibly popular browsers that come with useful developer toolkits. This can help you debug problems more easily, and optimize your web development.
Key Factors When Choosing a Local Development Tool
- Operating System Compatibility: Ensure the tool works seamlessly with your OS (Windows, macOS, Linux). For instance, Local is available for Mac, Windows, and Linux, while MAMP historically focused on macOS but now supports Windows too.
- Ease of Installation and Use: Consider how complex the setup local WordPress environment process is. Tools like Local offer a graphical interface and one-click WordPress installs, making them beginner-friendly, whereas VVV requires familiarity with Vagrant and the command line.
- Built-in Server Components: Check if it includes necessary components like Apache or Nginx web servers, MySQL or MariaDB databases, and selectable PHP versions. XAMPP bundles Apache, MariaDB, PHP, and Perl, offering a complete stack.
- SSL Support: Local SSL certificates are crucial for testing HTTPS functionality. Local provides simple one-click local SSL generation, while configuring it manually in XAMPP or VVV can be more involved.
- Performance: Evaluate how resource-intensive the tool is. Docker-based environments can offer good performance but might have a steeper learning curve. Native solutions like Local or MAMP might feel faster on some systems.
- Collaboration Features: Some tools offer features for sharing your local site with others. Local’s Live Links feature tunnels your local site to a publicly accessible URL, useful for client previews.
- WP Engine Integration: If you host with WP Engine, tools like Local offer direct integration, allowing easy pushing and pulling of sites between your local machine and WP Engine environments (Development, Staging, Production). This simplifies the WordPress development and production environment workflow.
Side-by-Side Comparison of Popular Local Solutions
- Local (formerly Local by Flywheel):
- Pros: Very user-friendly GUI, one-click WordPress installs, easy SSL, PHP version switching, MailHog for email testing, Live Links sharing, direct WP Engine Connect integration. Ideal for a streamlined WordPress development setup.
- Cons: Can be resource-intensive on some systems.
- Ideal Use Case: Beginners, designers, agencies, WP Engine users looking for the easiest setup local WordPress environment experience.
- Varying Vagrant Vagrants (VVV):
- Pros: Highly customizable, mirrors production environments closely, excellent for complex projects and contributing to WordPress core/plugins. Manages multiple projects easily.
- Cons: Requires command-line knowledge (Vagrant, VirtualBox/Parallels), steeper learning curve, can consume significant system resources.
- Ideal Use Case: Experienced developers, contributors to WordPress core, those needing a highly configurable WordPress development environment.
- Docker (with configurations like WP Local Docker):
- Pros: Lightweight containers, highly flexible and scalable, excellent environment parity, version controllable configurations.
- Cons: Requires learning Docker concepts and commands, setup can be complex initially, potential volume mapping performance issues on macOS/Windows.
- Ideal Use Case: Developers comfortable with containerization, teams needing consistent environments, complex application stacks.
- XAMPP/MAMP:
- Pros: Long-standing solutions, bundle Apache, MySQL, PHP together, relatively simple setup for a basic WordPress environment.
- Cons: Less WordPress-specific focus, managing multiple sites can be clumsy, SSL setup is manual, version switching can be difficult compared to tools like Local. MAMP Pro (paid) adds more features.
- Ideal Use Case: General PHP development, developers already familiar with these tools, simple single-site projects.
- Recommendation Matrix:
- Beginners/Designers: Start with Local for its ease of use and WP Engine integration.
- Agencies/WP Engine Users: Local is highly recommended due to WP Engine Connect and collaboration features.
- Advanced Developers/WP Contributors: Consider VVV or Docker for maximum control and customization.
- General PHP Devs/Simple Needs: XAMPP/MAMP remain viable options.
Frequently Asked Questions About Development Environments
- Do I need coding knowledge to use a local WordPress development environment? No, tools like Local are designed with a user-friendly interface allowing you to install WordPress, manage sites, and even push/pull to hosting without writing code. Basic understanding helps, but deep coding knowledge isn’t required for basic setup and usage.
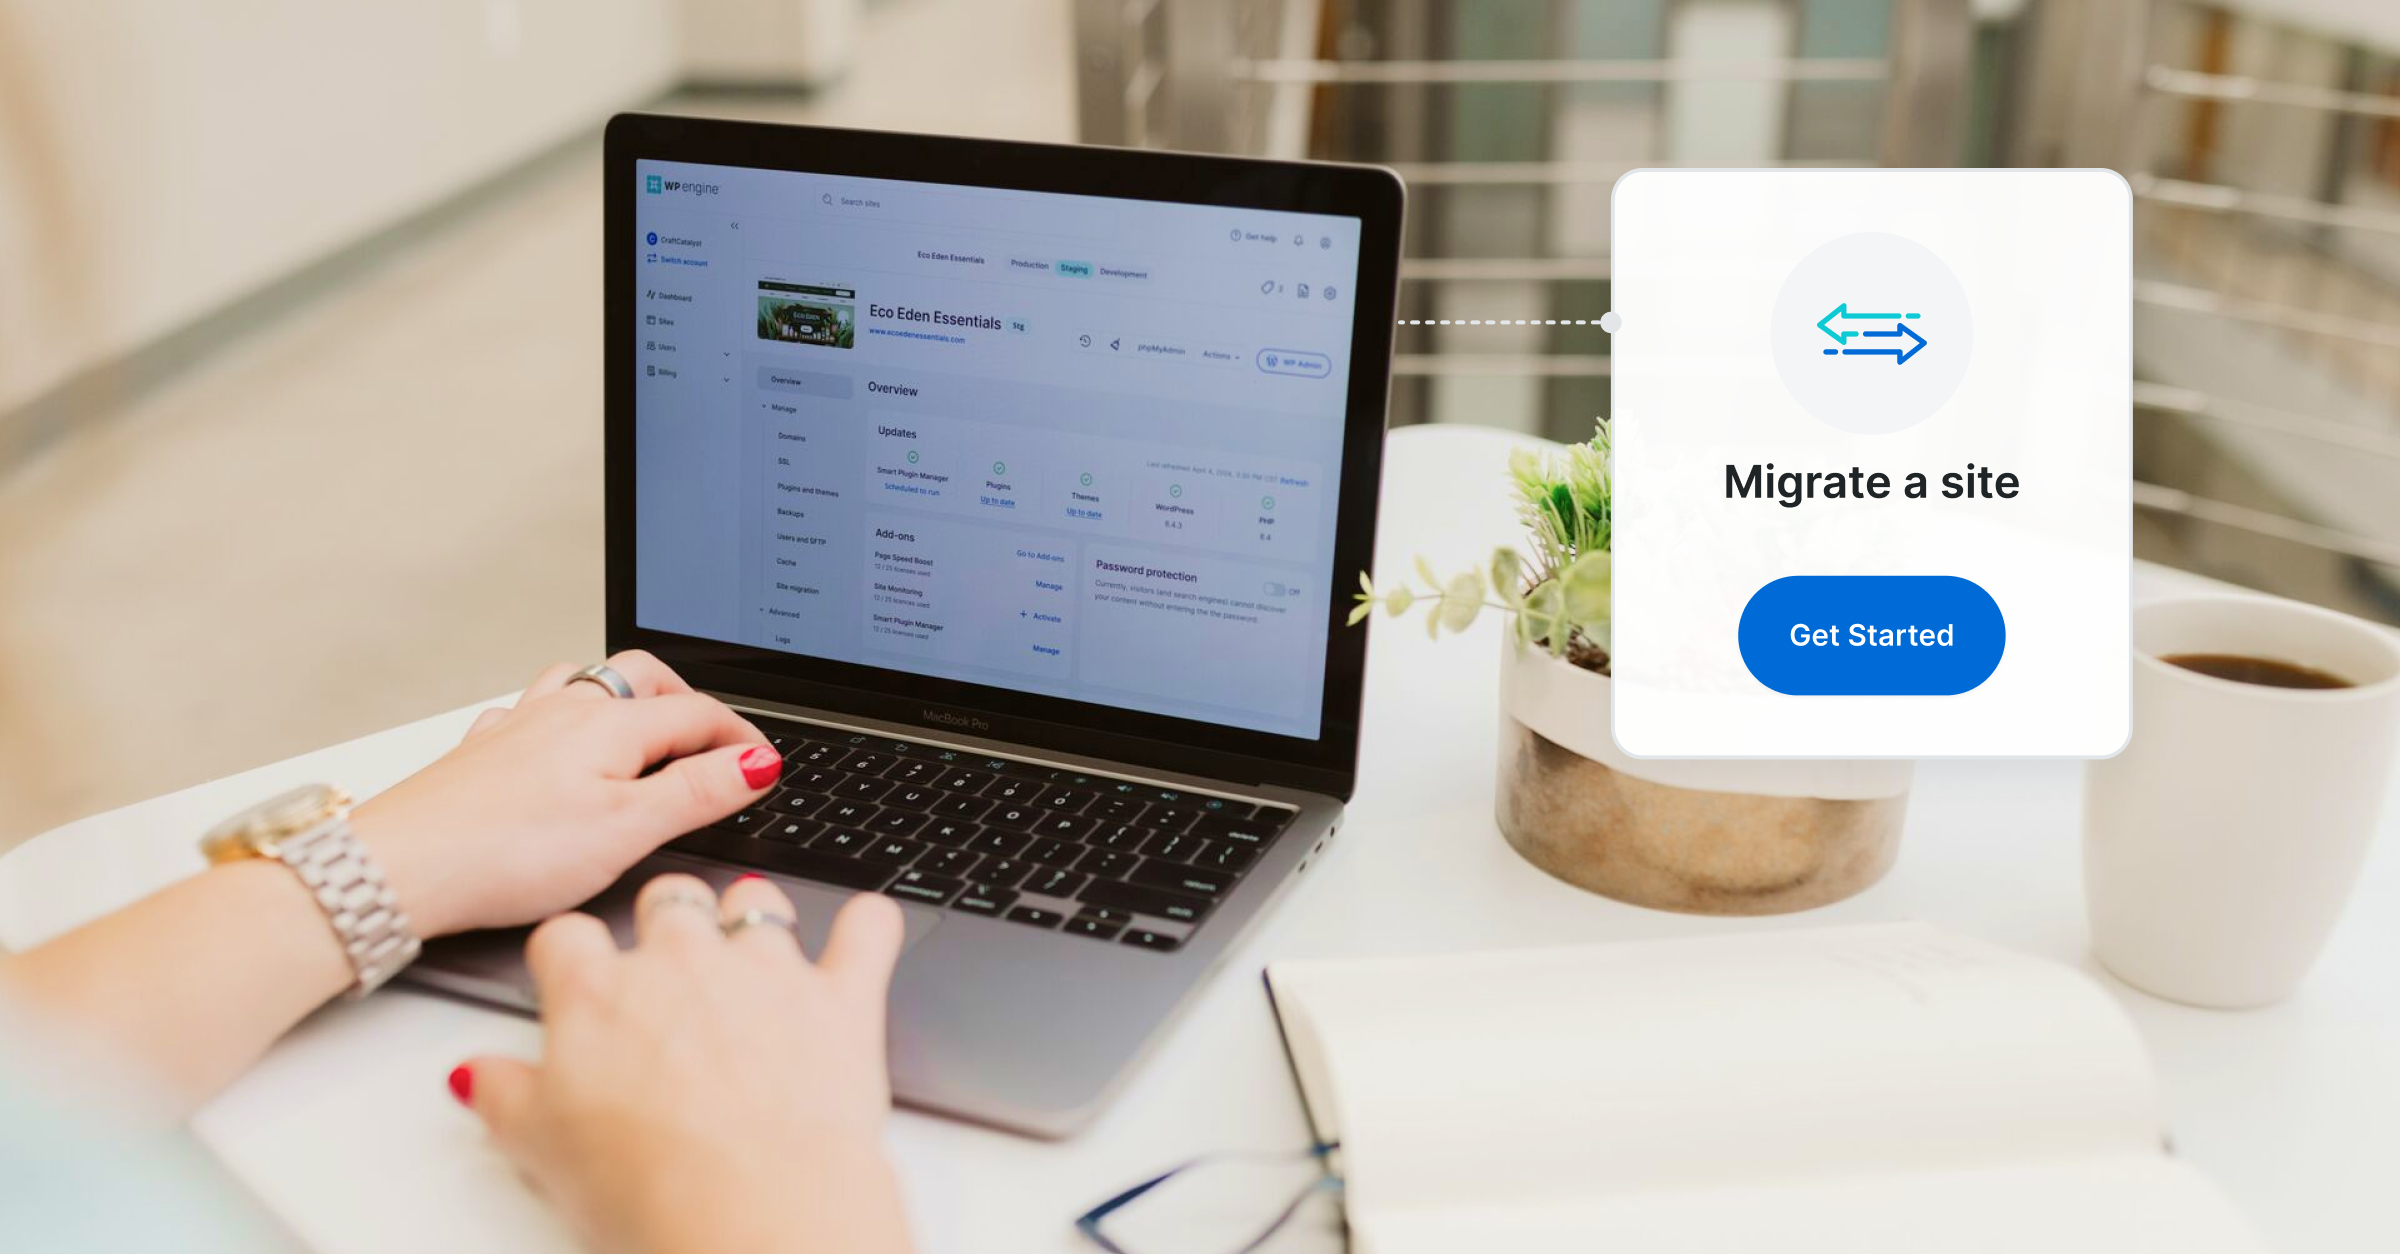
- How is a local site pushed to WP Engine staging or production? If using Local, you can utilize the WP Engine Connect feature. After linking your WP Engine account, you can directly ‘push’ your local site files and database to your chosen WP Engine environment (Development, Staging, or Production) with a few clicks.
- Will search engines like Google see my local development site? No, your local WordPress environment runs only on your computer and is not accessible via the public internet by default. Search engines cannot crawl or index sites that are not publicly hosted.
- How do I switch PHP versions in my local environment? Most modern local development tools make this easy. In Local, for example, you can select different PHP versions (along with web server and MySQL versions) when creating a site or change it later via the site’s configuration panel.
- Can I use a local environment for WordPress plugin development? Absolutely. A local WordPress plugin development environment is ideal for writing, testing, and debugging plugins safely without affecting a live site. You have full access to files and databases for thorough development.
- Is an online WordPress development environment the same as a staging site? Not exactly. An online or remote development environment is a private, cloud-based workspace (like those offered via DigitalOcean or VS Code Remote), often used early in development. A staging site (like WP Engine’s staging environment) is typically a direct clone of the live site used for final testing before deploying changes, bridging the gap between the WordPress development and production environment.
Develop Something Amazing With WP Engine
Web development can take many shapes and forms. Whether you’re working with a local or remote environment, having the best developer resources on hand can help you streamline your workflow.
Check out our plans and development solutions, and let our excellent hosting for WordPress be the foundation on which you create something amazing!