Go Live on a Domain with WP Engine
The phrase “Going Live” means updating your site so it loads over your own custom domain, instead of the the default WP Engine subdomain. Once your site is “Live” someone can type in your new domain and be directed to your website hosted on WP Engine.
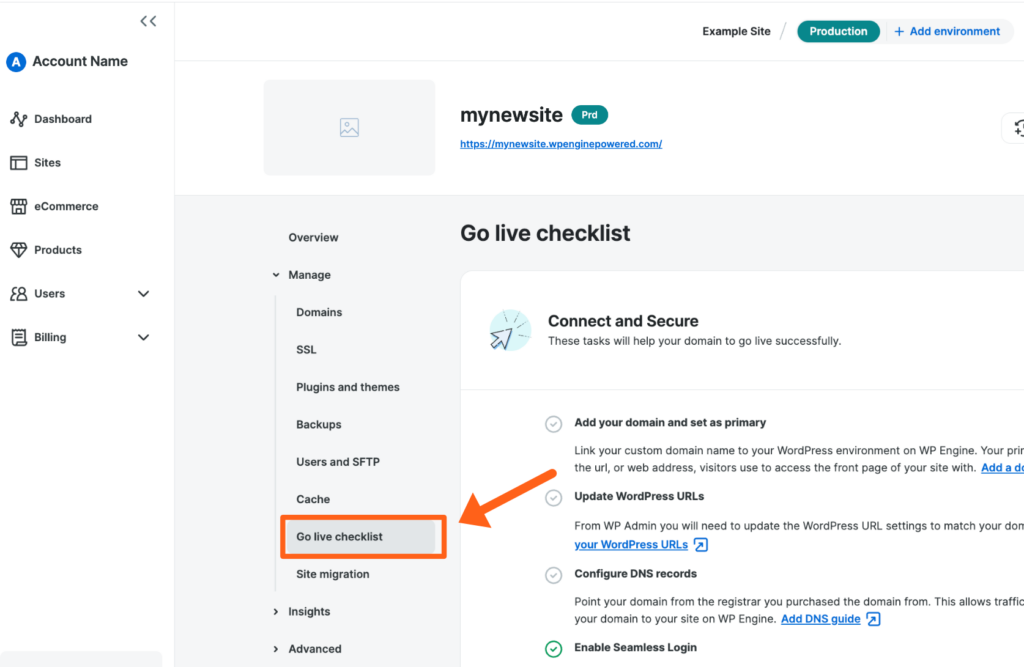
Check out the Go Live checklist in the User Portal to automatically track your progress!
NOTE
Is your domain added, but DNS is not yet pointed? View the Point DNS guide instead.
Before Going Live
Going live allows visitors to view your website on a custom domain, instead of showing the WP Engine default subdomain. This process also allows bots to begin crawling your site so you can receive traffic from search engines and build SEO ranking. For these reasons, we recommend that you-
- Ensure your website is complete and ready to be used by visitors. The WP Engine subdomain should already show all the content you expect it to after going live on your new domain.
- Test any vital pages on your website that should be working prior to going live on your domain, such as login and checkout.
- However, SSL is applied automatically to Advanced Network or Global Edge Security, and additional free SSL can be ordered after pointing DNS.
- If you migrated a website and have an existing SSL, import your SSL so it can be used immediately once live. (SSL cannot be imported to Lite or Startup plans.)
- If the Site is currently “transferable” it will need to be unlocked on the current account or transferred to another account before it can be taken live.
Go Live Checklist
Easily keep track of your Go Live processes with the “Go Live Checklist” page in your User Portal. On this page you’ll find a list of both mandatory and recommended items to complete when taking a website live.
- From the Sites page, select the environment name you’re taking live
- Click Go Live Checklist (You may have to expand the Manage dropdown section)
If you have any questions or issues with this checklist, reach out to our Support team any time.
Add Domain in User Portal
The new domain must be added to the User Portal on the environment that it will direct traffic to. If the domain is not added in the User Portal your visitors could receive a 404 error when visiting the domain, so start here when you’re ready to go live.
Prefer to watch a video?
Was this video helpful?
- From the Sites page, select the environment name
- Select Domains
- Click Add Domain
- Follow the prompts to add your domain
Learn more about the “Domain” page and the add domain process in our extended guide.
Once the domain is added, be sure to set the Primary Domain and add any domain redirects in the User Portal.
Configure DNS
Pointing DNS tells the domain which server to send traffic to when a domain is requested by a visitor. There are two options to configure DNS for WP Engine.:
Prefer to watch a video?
Was this video helpful?
- Option 1: Automatically – If available, log in to the domain provider to point DNS automatically during the Add Domain process. Learn more about automatic DNS configuration here.
- Option 2: Manually – If automatic DNS configuration is not available, or not needed, point DNS to WP Engine manually. Learn more about manually updating DNS here.
Once DNS has been updated your website may be inaccessible while the new records propagate. If you have questions about how long DNS will take to propagate, contact your DNS host directly.
If you are not ready to point your DNS to WP Engine, or want to access your website while DNS propagates, you will need to use the Hosts File Trick.
Update WordPress URL Settings
Updating your URL settings in WordPress® tells the website which domain it should display in the browser.1 This can also have an effect on the URL generated for some assets, like images.
Prefer to watch a video?
Was this video helpful?
This process is now completed for you automatically by WP Engine whenever you change the Primary Domain in the User Portal. This is done by an Automated Search and Replace in the database.
If the automated process doesn’t work for any reason or if you want to change it manually before setting the Primary Domain in the User Portal, then you can follow the steps below to manually change the domain in your WordPress settings.
After completing this change you will be logged out of the website and you will not be able to access it again until you point DNS in the next step.
NOTE
If updating a multisite, use the steps here instead to update the WordPress URL.
- Log in to your website’s
/wp-admindashboard - Open Settings
- Click General
- Update two values to your new domain:
- WordPress Address (URL)
- Site Address (URL)

If the URL fields on this page are greyed out (uneditable) you will need to open your wp-config.php file using SFTP or SSH Gateway and delete the following lines:
define( ‘WP_HOME’, ‘https://somedomain.com’ );
define( ‘WP_SITEURL’, ‘https://somedomain.com’ );
NOTE
After updating the home and site URL values, it’s common to run a search and replace to update any lingering database URL entries. Learn how to do so here.
Database Method
If you cannot access the wp-admin area of your site, the WordPress URL can be updated in the database as well. This may also be useful if you misspelled or otherwise entered the domain incorrectly previously.
- Log in to the User Portal
- Click on the environment name
- Click phpMyAdmin
- Expand the wp_environmentname database
- Expand the wp_options table
- Update two option values to your new domain
- siteurl
- Home

NOTE
After updating the home and site URL values, it’s common to run a search and replace to update any lingering database URL entries. Learn how to do so here.
After Going Live
After you’ve completed the steps above your website has been taken live and should be accessible at your domain name of choice. We recommend the following steps be done in addition to help ensure peak security and performance:
- Add an SSL to your site to ensure pages can be served securely over HTTPS.
- If you are using our Advanced Network or Global Edge Security Network for DNS then there is no need to order an SSL since this is done automatically through Cloudflare.
- Make sure all vital pages work as expected.
- If you run an eCommerce site, for example, perform a test purchase.
Common Issues
Redirect loop or login issues
- Ensure the domain is not redirecting to another domain when adding the domain to the User Portal.
- If you cannot access the wp-admin again to check how the domain was set within WordPress, you will need to use the database method when updating your domain.
- Otherwise, completely undo any domain-level redirects set in the User Portal that may have been set when adding your domain to the User Portal.
- If you still have issues follow these steps or reach out to our 24 hour Support team.
The website or some links are redirecting to the WP Engine CNAME (eg. environment.wpengine.com)
- Run a search and replace to your new domain using a plugin.
- EX: Search for
http://coolsite.wpengine.comreplace withhttps://mynewdomain.com
- EX: Search for
- Be sure to purge server caches.
- Ensure the live domain is not redirected to the WP Engine CNAME on the Domains page.
Site shows insecure or some assets are not loading
- Check for and correct any mixed content.
404 Errors
Is the 404 error bright blue or turquoise?
- Make sure you’ve added the domain with and without WWW in adding your domain to the User Portal.
- Ensure you’ve spelled the domain correctly in when adding the domain to the User Portal and within the WordPress settings.
Is the 404 page grey, black or a default browser 404 page?
- Check with your DNS host that your records have been pointed properly.
- Make sure DNS has propagated.
For more help troubleshooting 404 errors, see our 404 guide.
Domain Redirecting to “wp-signup.php”
Your multisite domain references were not set properly in WordPress. Review these multisite domain locations.
NEXT STEP: Learn how to migrate a site